26 August 2008
Furniture transformation: I have been known to drag home a poor abandoned chair or table from the sidewalk, because I see it's potential. Sadly, I do not have the space to collect my lost furniture, so this past time of mine is slightly on hold.
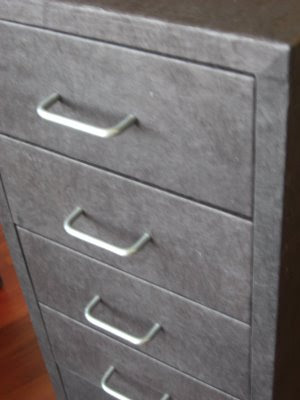
However, that doesn't keep me from seeing the potential in other pieces that we do have space for. We bought these two storage units at IKEA, knowing that they met our practical needs, but in no way met the pretty component. I spent a whole afternoon covering them in a heavy craft paper - which after time faded and slowly loosened itself - making the whole thing look worse than if I had just left them in their metal gray state.
But a month ago I was inspired to try it again. So I went to Flax and combed through the drawers of flat sheets to find the right shade and material - the paper needed to be malleable enough to cover the edges smoothly and the shade needed to blend with the dark walnut wood of the rest of our desk.
And viola - I am thrilled with the results.
Here are some suggestions for covering furniture with paper:
1. Remove all hardware
2. Start with a clean surface
3. Use a paper that is durable but bendable
4. PVA is my favorite adhesive - buy at Papersource
5. Work efficiently but patiently - smooth edges and flat surfaces to get all bubbles out
6. Measure twice, cut once - and give yourself wiggle room
7. Remember that paper adds depth - so open/close drawers to see how much room you have
8. Use a high-glass polyurethane sealer to make the final project durable
Subscribe to:
Post Comments (Atom)


No comments:
Post a Comment